Most of these are after marketing tools, IMHO, more for checking the alignment.
Simplest way: sharpie test
This should be good enough for most hobbyists. Other more "advanced" way do not guarantee you for better results.
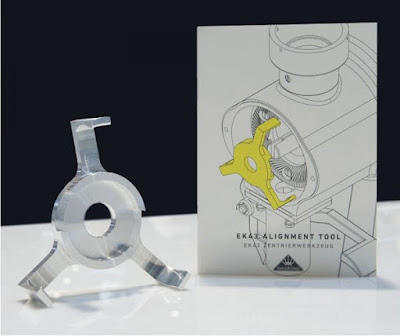
Alignment tool from Mahlkonig:
- $105
It's like a check tool, rather than calibration tool. But should be adequate to do the job.
For EK43:
Hale method is bit more interesting, including some way to polish the burr carrier base
- no quantitative data after the "alignment"
- assumptions are made:
Motor axle is rotating perfectly along axis.
Motor shaft bearing within spec of 10 um? Usroller
After all, the basic concepts behind is more important, coaxiality , or coplanarity, which I learn from Doug of OE.
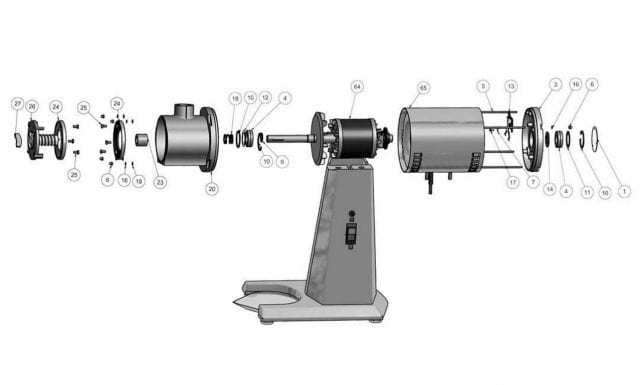
...The inner burr is mounted in the center of a long stainless steel axle which is held at the top and bottom with replaceable oil-less bronze bearings press fit into the top and bottom plates.
The outer burr is attached to the center plate using 4 bolts, with the upper hopper chamber composed of a clear poly carbonate sleeve held inside the bolts. The pc cylinder above the burr creates an internal hopper which holds about 21 grams of beans. Cylinder filling is through the openings at the top plate bearing.
The functional demand of this design is that all elements are precisely centered in relation to each other to allow for maximum centered alignment of the burr, axle, and assembly plates. - HB
Two perfectly aligned burr rotating on a perfectly straight axle.
Reference
OE Pharos TB5
Bent shaft:
CMM 幾何公差測量
Laser alignment from on-trak
Suggestions about next step in grinder tech?
The axle and the burrs , eg sides are marked with laser alignment marks, and the grinder body has access windows, that you can be measured the alignment when the grinder is fully assembled.


.jpeg)


.png)

留言
張貼留言